Showing posts with label ikea. Show all posts

Wednesday, February 2, 2011

This plus That

What happens when you combine these awesome napkins with this dresser?

Napkins from Effortless Style, Ikea RAST dresser


This!!

Once I assembled the RAST dresser, I primed and painted it white. Remember my bottomless $5 gallon of paint? Well, it strikes again! 


I'll be honest, figuring out how to best get the greek key pattern onto the dresser was not easy. I first tried with tape and a ruler, and I just couldn't get it right. I started with taping the edges, and then the corners. Fail. No good. And add to that, the original paint color I picked was NOT what I was thinking. Paint has a nasty habit of not looking the same in real life as it does on the paint chip.


So more primer/white paint, and back to the drawing board. In the end, my trusty old graph paper came to the rescue. I created a template with the graph paper, cut it out, and then traced it lightly onto the drawers. THEN I used the tape to make it easier to paint.

The Stencil in action

Added some paint
 The last thing I needed to complete my dresser was some knobs. I found these sparkly knobs at Walmart, of all places. They were about $7 for two, which is the lowest price I saw of the stores I went to. And check this out: they're Allison knobs. Could that not be a sign that these are the knobs I should use??


The paint I used was this Valspar paint, called "La Fonda Turquoise". The sample size that I got is far more than enough, I will be able to use it for other projects.


Heres a comparison with the original color I picked- a color called Turquoise Bay by Ace.


And the nearly-final product (just missing some knobs):


Finally, I put it in place next to my bed. I am really happy with the way it looks in my room, and how it makes my room feel much bigger. My previous nightstand extended out too far along the side of my bed, and took up a lot of space. In retrospect, that table was definitely supposed to be a side table for a sofa, not a nightstand. Oh well.


Linked to: 
 Domestically SpeakingIhookedupwithHoHlamespice

Friday, January 28, 2011

Next Stop of the Bandwagon: My Home

Yes, I jumped on the Ikea Rast dresser redo bandwagon.
I just can't resist the amazingness of the various Rast dresser redos I have seen. For those of you who aren't aware, the Rast dresser is an unbelievable $29.99 at Ikea. It's an unfinished, 3-drawer small dresser and totally awesome.
The possibilities are endless. Here are a few makeovers of this dresser I have been drooling over:
Source
Source
It took me about 30 minutes to put together, and then I immediately primmed her. I'm still working on the final product so I'm going to keep my design plans quiet for now.
My Rast...


Thursday, November 18, 2010

Completed Desk Area

Has it really been 2 weeks since I posted? Oops.

I've done some serious work on the "office area" in my bedroom over the last month or so.
First I showed you what it looked like currently here,
then I redid a chair I found and wrote about it here,
and I also left some clues about what else I was up to, in my post about my trip to Ikea. So how does my desk corner look now?

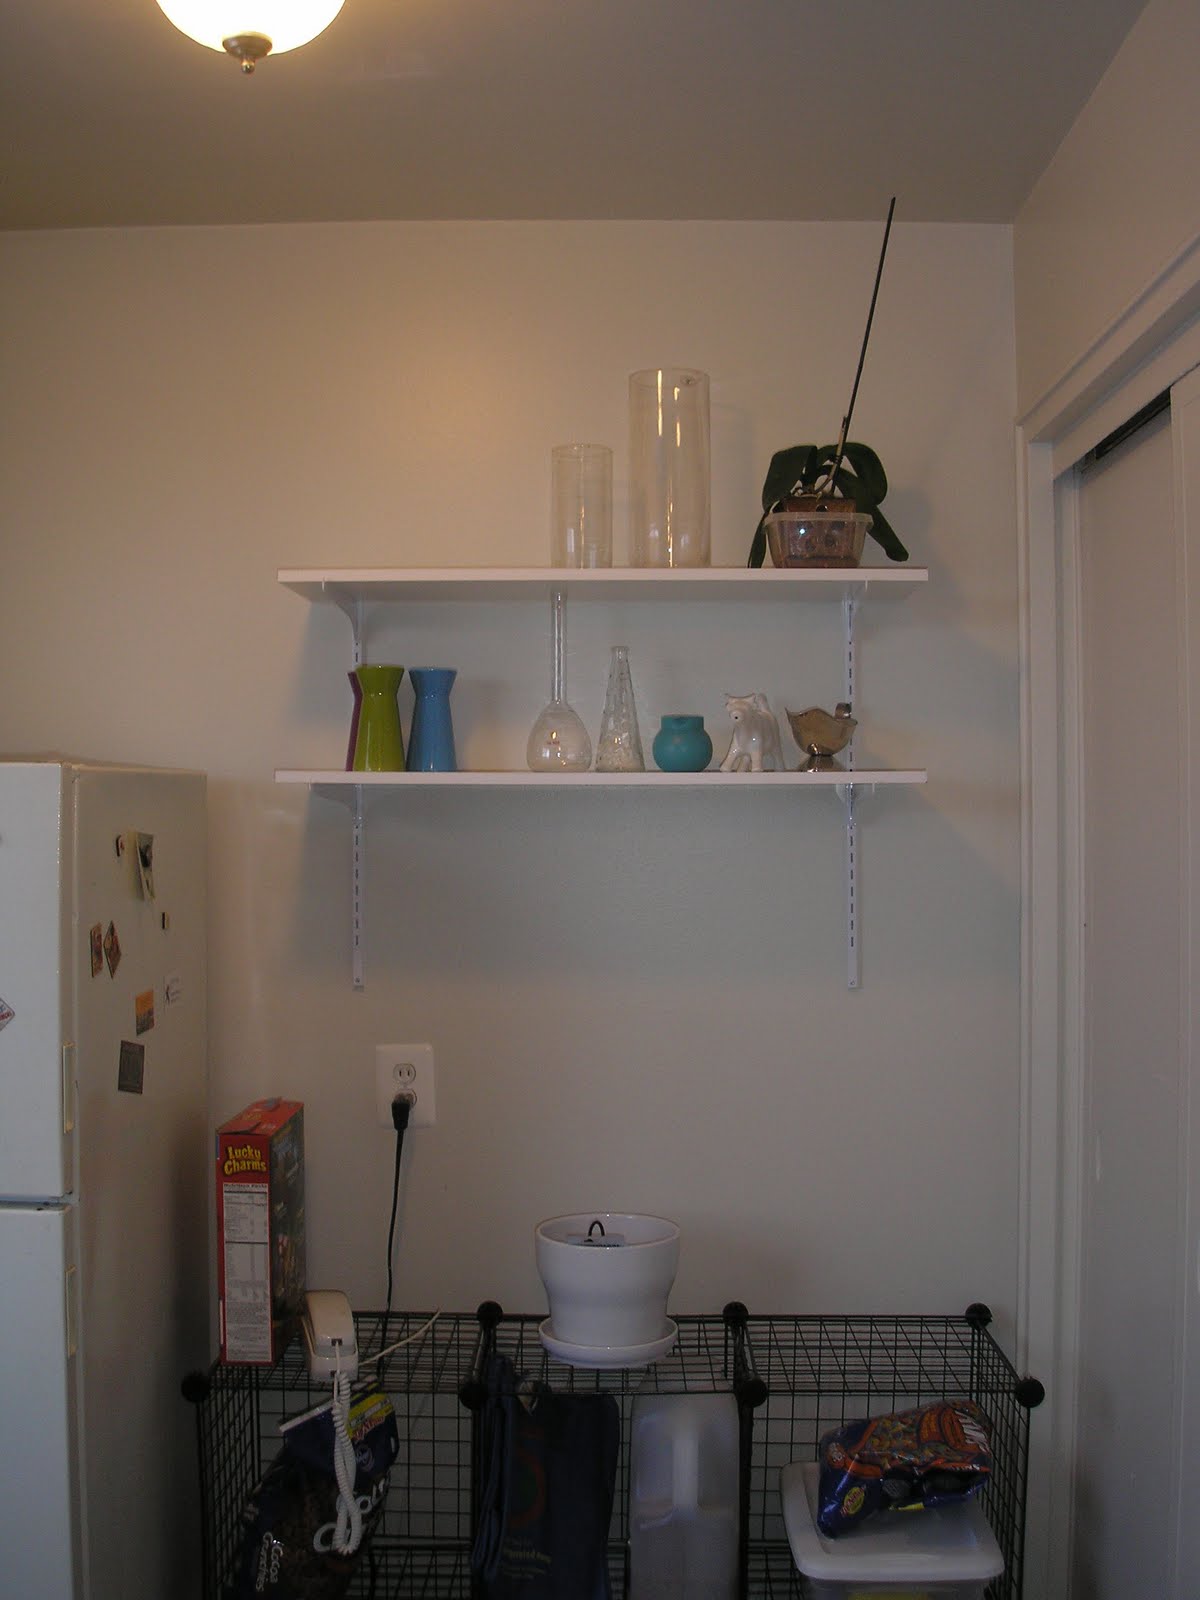
Well, I put up the white shelves that I used to have in my kitchen. Remember those?
(yuck, bad picture. I'd like to think I could do better...)

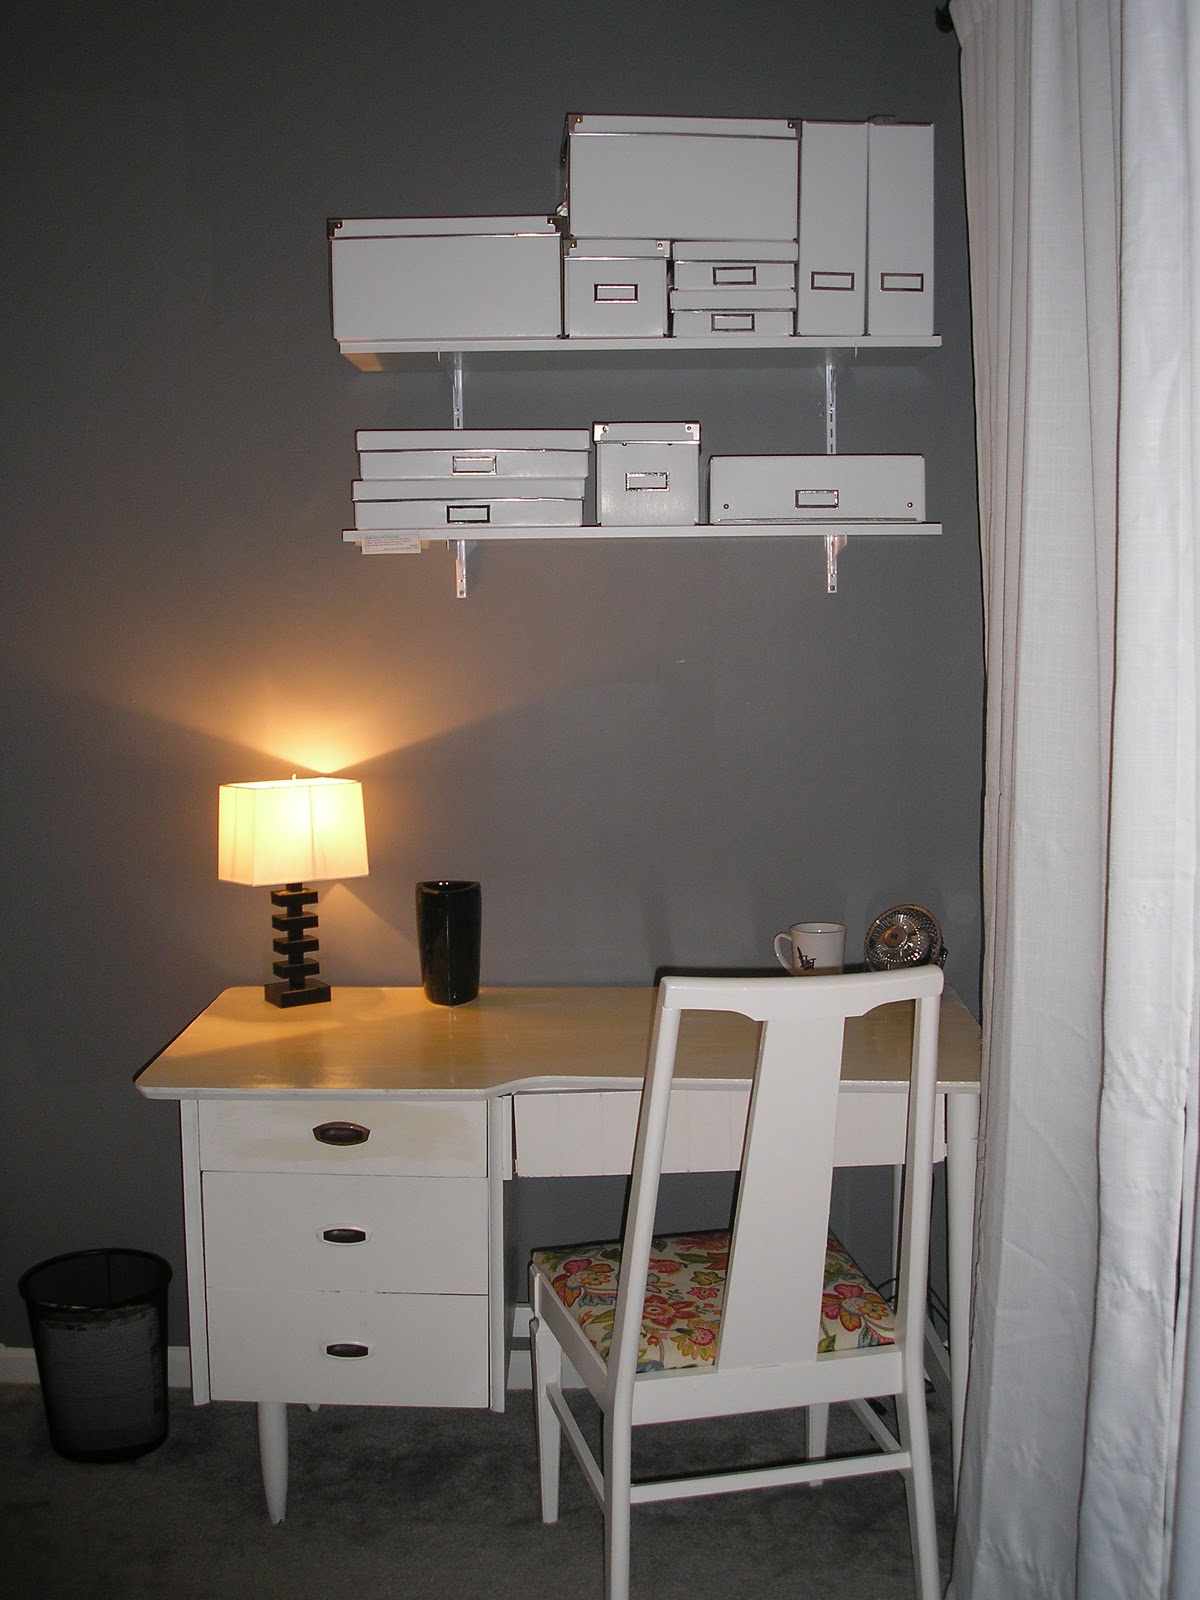
And after I put the shelves up, I decided I needed some matching boxes to store my supplies and papers. This is when my Ikea shopping trip came into play:


I think it looks pretty nice all together. The desk will mainly serve as the area for my sewing machine, but also my bills and other paper work go there.
I'm happy to have such a stylish place to do work!


Sunday, October 24, 2010

Welcome To My Home, Volume 3: Ikea Trip

I've slowed down on the number of projects I've done recently, perhaps because of the cooling weather. This past weekend, however, I made a trip to Ikea. Shopping with people is fun, but when I really want to do some serious shopping, I want to do it alone so I don't feel any pressure to be on someone else's schedule. In other words, I like to look at everrrryything. Maybe twice.
So this weekends trip to Ikea was my first solo trip, and it was quite fruitful! I picked up a few things that I've had my eye on for a while, and some things I hadn't planned on, along with the main reason for the trip: Kassett boxes. I won't tell you what I'm doing with these boxes yet, but one of my recent posts has a rather large clue.
Here's a visual of the goods I came home with:

In addition to all the Kassett boxes, I got some items I have seen in other people's spaces and really wanted. For example, the grey striped tray. I'm using it on my landing strip as a place to put my keys/phone/whatever is in my hand when I walk in. It's a really cute tray- I wish larger sizes were available.
I also picked up some of those basic white "FARM" vases that I see everywhere. I've looked at them a couple times in the store but never ended up taking them home until this time.
The orange candles will be appearing with my pink glittery pumpkins, and the silver bead trim is something I'll use definitely for decorating for Christmas, but maybe elsewhere too!

Friday, June 19, 2009

Pillows


In the Fall I got a new cover for my comforter, brown. I also decided I wanted new sheets, and so I got a contrasting blue color. The blue is lovely, and only more lovely when with brown. However, when my bed is made there are no traces of the blue. So, I decided I needed to take an idea from Olivia Palmero's mirrored pillows. (http://www.jaysonhomeandgarden.com/product.php?productid=3520)
I set out to get what I needed--pillow filling (Ikea), fabric to match the current sheets, little mirrors to attach to pillows(Michaels)..
I found the pillow form at Ikea, and then decided to use pillow cases in the same color as the sheets on the bed to make these smaller pillows. This saved me some time sewing, right? So why not. I sewed the pillow form into the cut-down Target pillow cases, and sewed by hand the last side.
Then I worked to attach the small mirrors to the pillows. I was unable to come up with a good way of sewing them on, and ultimately tried a hot glue gun. This would have worked fine, if the pillows were never touched or used after the mirrors were hot glued on. The next thing I found was liquid stitch. I don't know much about liquid stitch, but it looks like glue, and is holding my mirrors on perfectly.

Thursday, June 18, 2009

Kitty Jungle Gym


After seeing this project on several different blogs and websites, I decided it was time for me to do it. These shelves are for my cats, Franklin and Ellie, to climb on. As indoor cats they are often getting themselves into trouble, and I thought this might keep that desire at bay.
The shelves and brackets are from Ikea, and I got wall anchors and screws at the local Ace Hardware. I only purchased two shelves, one wider one (bottom and top shelf) and a narrower one ( middle and not up yet...) and had them cut to approximately 1/3 and 2/3 original size. The good thing about the brackets these shelves use is that a rough edge doesn't know and consequently doesn't really need to be sanded.
These shelves are pretty heavy, and getting them up on the wall was a fun project. The top shelf, especially, was fun. After a couple hours of planning the heights and positioning, drilling holes, putting up the brackets and shelves, and probably some cursing, they are done!
Franklin quite likes that top shelf, as you can see. He thinks he is king of the apartment or something.