Showing posts with label kitchen. Show all posts

Monday, November 14, 2011

Kitchen Progress

I'm kind of torn about whether to show progress pictures or wait until its all done, but here they are.
One of the first projects I dove into upon moving in is painting the kitchen cabinets.
The cabinets were actually wood, but they were a medium brown that really didn't look great with the faux-butcher block counter tops.


I immediately knew I would be painting the cabinets white and adding some brushed nickel knobs and drawer pulls. So I was super anxious to start that project once I moved in.

I don't have a lot of "process" pictures, but here's what I did:
- washed the cabinets down really well with lysol or something similar
- did a light sanding 
- used Kilz oil based primer-- for most places I just did one coat, but where stains bled thru I did a second
- Then I brushed on a coat of Valspar paint called "Dove White". I didn't have a strong opinion about which white color I used, and I liked how this looked on the swatch so I just went for it. No planning.
-After the first coat I did another light sanding. Maybe a little heavier in places where there were imperfections or drips.
- Brushed on a second coat of Dove White.
- Let the doors dry for a couple days
- drilled holes and added knobs

At the same time, I was taking care of the hinges. I decided it wasn't in my budget to buy all new hinges, but the ones I had needed some work. They were like a dirty bronze color. I took them all down and gave them a scrub, then I spray painted them with Krylon's Satin Nickel spray paint. It took about thin two coats on each side to get them looking great! (Anyone else a Young House Love fan? Every time I started spraying I heard " If you’re a-sprayin’ your arm better be a-swayin" but its good advice!)

I started with the top cabinets ...because I wanted to.
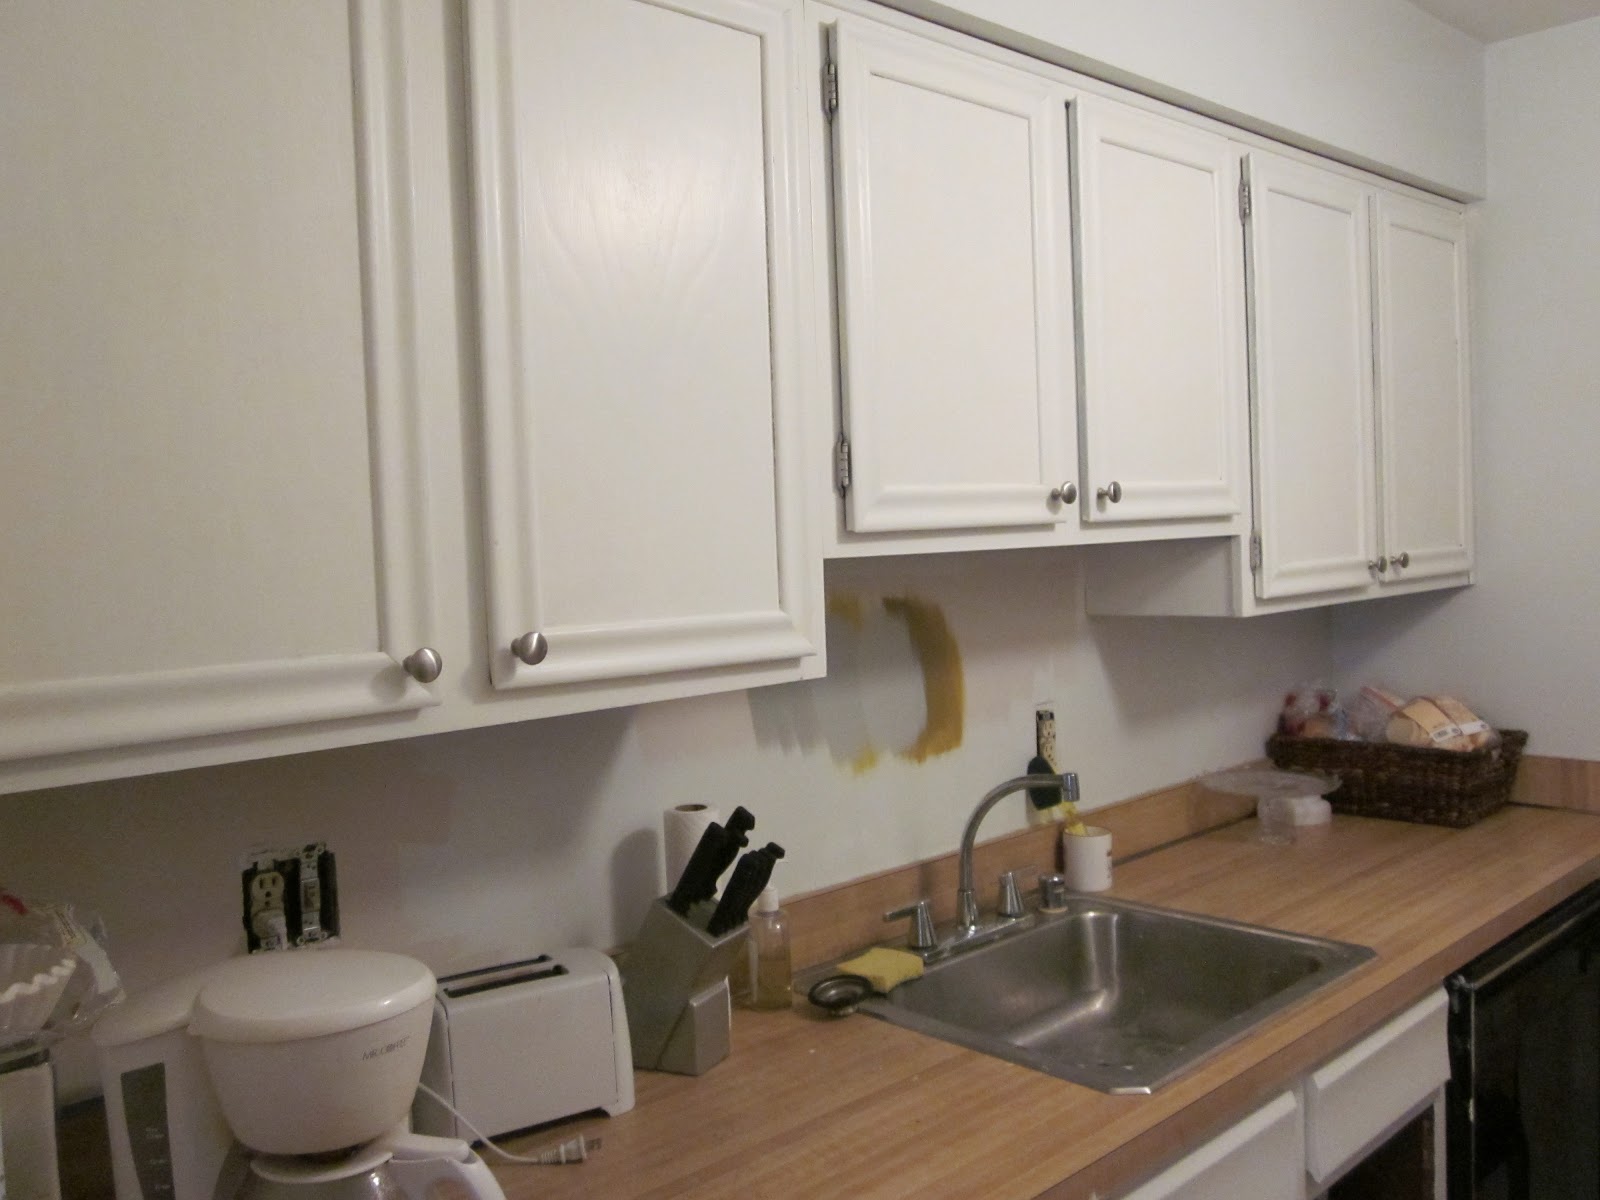

BAM!

You can see the swatches behind the sink. I had the darnest time picking a color. At first I thought I would use Wild Aster, as I did in the living/dining areas, but after painting just a small portion (as seen on the wall behind the coffee maker) that color just wasn't doing it for me in this space. Next I thought maybe yellow, and picked up two samples from Lowes- I can't remember there names but one was a light yellow and the other a light greenish-yellow. Too pale.
Next I got a little more crazy and picked up the two samples at the other end of the paint chip from the first two yellow colors, which you can see in this picture.

Neither color was what I wanted. Both are too...yucky. So then I pulled out the samples I had used in my bedroom, and low and behold, I liked one! And even better, it happened to be the one I used in my bedroom! (The grey on the bottom right) So I went with that. The color looks totally different In the kitchen, I think.

In the midst of all this painting, I also installed some under-cabinet lights. So here is my final "progress" picture of the kitchen, walls painted, most cabinet doors installed, and some drawer hardware showing plus the under cabinet lights....
Other lights off


Other lights on- ignore the mess!!


Before:

After:

Can you believe that is the same kitchen? I am super, super excited about how good it is looking! And it will look even better when I get pictures with the remaining doors installed and get the mop out of sight!

Linking to:
 you are talking too much />


Tuesday, November 23, 2010

My Mother's Kitchen: The Beginning

So the kitchen at my mother's house has seen better days. It's rather outdated. And since I have been keeping up with blogs, seen lots of kitchen make overs, have a good imagination and am slightly ignorant about how hard this might be, I've decided that my mothers Christmas present this year will be a makeover for her kitchen. I unfortunately don't have any GREAT pictures of just the kitchen, so bear with me here.

Actually, several years ago while home from college for Christmas, I repainted the kitchen. The kitchen originally had wallpaper, so I stripped that and then painted. (Ignore all the clutter in the coming pictures, plllleeease)


So to explain. The counter tops are a lovely royal blue, the cabinets are a rather dark wood and the floor is in bad shape. I kind of dig the pattern, in a "it's vintage" kind of way, but the condition of the floor is just not good. It's one of those floors that never looks clean regardless of when you last cleaned it. One thing that is hard to see from these pictures is the "peninsula" (you know, like an island but against the wall on one side). It is exactly the same in terms of counters and cabinets.

So during that visit many years ago, I took down the wall paper (which you can see I've started in the above pictures) and repainted.


And just for good measure, here is a picture of my adorable brother, his puppy and the ugly floor:

So obviously I have my work cut out for me. I'll explain in detail what I'm planning to do in a future post (perhaps next week...), but first, I want to know--what DIY updates would you suggest I attempt?

Saturday, June 5, 2010

Apartment Tour: Kitchen

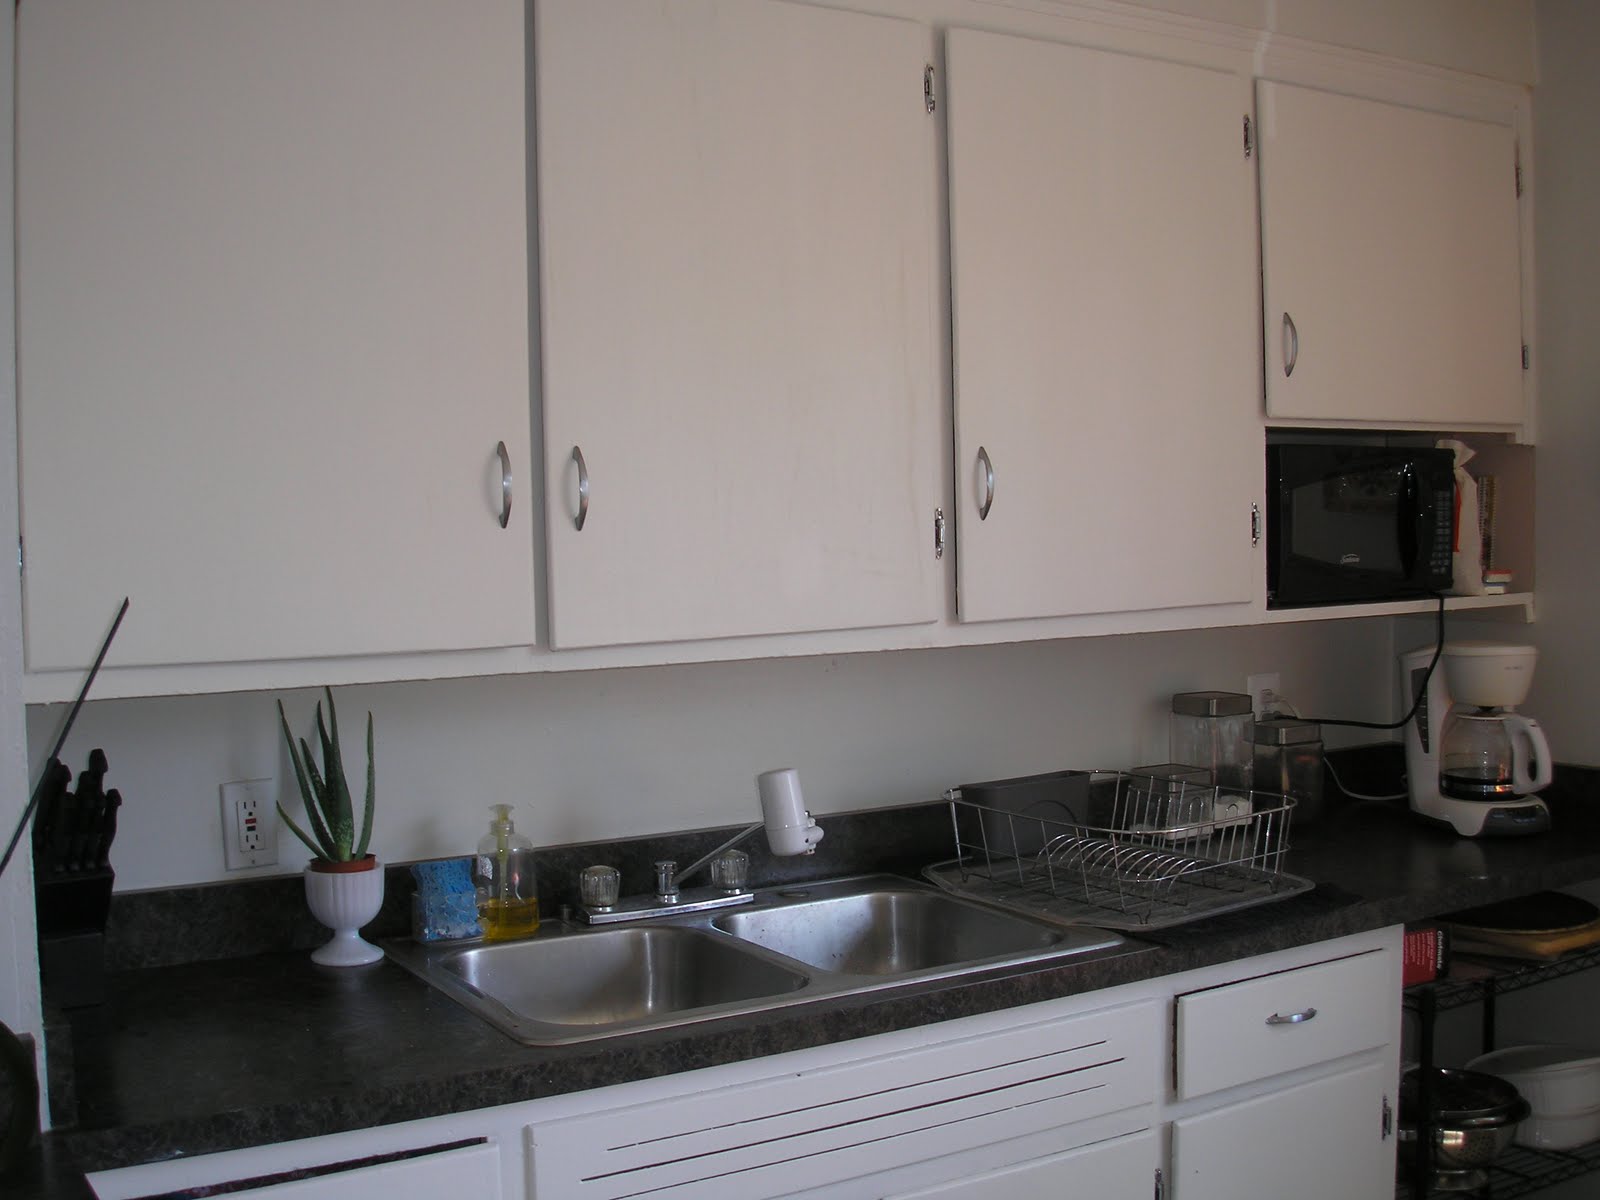
The next room in my apartment tour is the kitchen. The kitchen is obviously the center of the apartment, but also a difficult one for me to decorate. When I moved into my apartment, the cabinets were two toned- dark brown doors and tan frames. I lived with them for quite a while as-is before I couldn't resist the urge to paint them anymore. Inspired by the many posts I see on various decorating and renovating blogs with beautiful white cabinets, I decided to paint my own cabinets white. I feel that it worked as planned- it looks much cleaner and brighter.
Before:
 After:
In the after picture you can also see my collection of pink, flowery plates (although this was taken before the addition of the Liberty of London plate.


Sunday, April 25, 2010

Kitchen Cabinets

The kitchen in my apartment came complete with some questionably painted cabinets. It was a good attempt at making them look clean and neutral, I'm sure, but it just wasn't doing it for me. The brown was too dark, and it looks they haven't been cleaned in 10 years despite that I do it often. So I decided it was time to paint them. Many people in my complex paint their walls, management doesn't seem to care, so I decided they wouldn't care if I painted my cabinets. Even if they do care, my security deposit was next to nothing. I went to my favorite Ace hardware and found my favorite paint guy. I wanted to paint the cabinets white, and I picked out a color called 'bone white.' Favorite paint guy pointed out to me that they carry that color pre-mixed, but they no longer had room for it on the shelf, so it was about 75% off. So, I got a gallon of this paint for $5, instead of spending around $20 to have it mixed. Awesome!
Here are my cabinets before:

And after a day or so of painting, here is the final product:

I will probably be making touch ups until I move out of this apartment-- every once in a while the lighting in the room will show a spot that needs some attention.  But, I'm very happy with how much brighter and cleaner the kitchen looks. Can you believe that's the same counter top as the first picture? I think its amazing how much nicer it looks. Next question-- do I paint the walls? It might need some color. And why stop now?

Wednesday, March 31, 2010

Kitchen Shelves

At some point in the last few months I put up some shelves in my kitchen. I wanted to display some of my nicer dishes and vases, and also at the same time put something on the huge empty wall in the kitchen. The other walls have plates and baking dishes on them, so I was kind of out of options for the big wall.
I was prepared this time--since I was planning to get some customizable shelves from my favorite hardware store (Ace Barnes Hardware!!) I wanted to be sure to get the right size for the space. I measured the wall and approximately how high up I wanted the shelves. I decided at that point I wanted probably 2 shelves. Since my walls are white and I don't have a real color scheme in the kitchen, I decided to go with white shelving.
I got the metal rods, brackets and shelves very similar to whats pictured above. It was very easy to put up on the wall--it came with all the necessary hardware and only required a screwdriver.

I put my colorful collection of  vases and what not on the shelves at first:


Inspired by others dining room hutches and shelves I've seen in blogs, I decided to streamline and put only one color on the shelves. The collection started with the cow shaped creamer you can see in this picture. I added a vase I found at the salvation army, and one day I found a couple other vases at Michael's.


I am overall very happy with this look. Eventually I may spray paint some of the pieces to match the others more closely. The pitcher in the middle in particular is much more of a cream than a white. Another future change is to replace the college-style black metal cubes with a real buffet or cabinet. I've had my eye out for a long dresser at the Salvation Army that could be used in the kitchen, but so far I haven't had any luck.

Tuesday, June 30, 2009

Kitchen

There is a running theme in my apartment: empty walls. I have combated this problem in two cool ways (I THINK!) in my kitchen.
Given that I like to bake, and I like interesting shaped cake pans, I decided to solve two problems at once with my collection of these pans. The first problem is the empty wall, and the second problem is my limited cabinet space. So with a mere 4 nails, and $0 I had some new wall decorations!
The two bundt pans-- large one on the top left and bundt shaped muffin tin on the bottom right, are from the Salvation Army!!, while the red pan is from a lawn sale. I'm not calling the red pan a cake pan, because the woman that sold it to me told me she wasn't sure. I can't imagine what else it could be used for--peanut gallery, what is your guess? It looks like a three-tiered cake, all from one pan. Maybe this is the secret to making awesome tiered cakess--make fake tiers. I don't imagine I will ever use it to make a cake, because it is a HUGE pan. It would probably take a double batch of cake to fill properly. To be honest, I can't remember where I got the small muffin pan, although from the brand I know it is from either Michaels or Target. I can't even remember WHY I bought this particular pan, although it produced some excellent cupcakes (ahem, muffins).

When I was in the dorm in college, I wanted a plate to use that could be microwaved without melting. I found a really nice Isaac Mizrahi plate at Target, with a large, pink flower centered on it. I have had that plate ever since, sitting in my cabinet. Often I use it as a platter, sometimes I just take it out to admire. But it inspired my pink-flowered-plate-collection-wall. In addition to the Isaac plate, I had a plate from the set that my roommates and I used in college. These plates also feature pink, flowers, and pink flowers. One trip to a local favorite discount housewares store and I had three more plates for the collection! I think they make an excellent addition to my kitchen, and its another practical storage solution. I am fully planning on pulling them down to use as serving plates the next time I have people over for food. My only hesitation about this type of decoration is that I have been told by a friend that collecting plates is essentially an incurable disease, and I will never be able to escape the desire to buy plates to go in my 'collection.' I can just see myself in 40 years, sitting at a kitchen table with stacks and stacks of pink, flowered and pink flowered plates. Ahh! Moderation is key, it seems. What's worse, the crazy plate lady or the crazy cat lady?