Monday, September 20, 2010

More Painting

With my new open floorplan apartment comes the need for changing up my furniture a bit.  One of the spaces I've had the most trouble with is the dining area. Its big. Much bigger than I need, and bigger than I furniture to put in it. I know that I don't need to feel every empty space, but this just seemed a little ridiculous. 
The dinning area, on the left, with an empty apartment
Shortly after moving in. Random totes still not unpacked.
Shortly after moving in, from another angle.
Eventually, the black table that I had in my living room at the old apartment was placed against the wall facing the kitchen.
Remember this guy?
I wasn't really digging the combination of my light colored table with this black table, so again my $5 gallon of white paint came to the rescue. Prime, 2 coats of bone white, and voila, good as new. Now, to actually hang the mirror on the wall, or leave it leaning like it is now?


Wednesday, September 15, 2010

Easy Upgrades with Paint

You may have noticed a change in my bedroom in the before and after pictures of my last post that I didn't mention.
Before:

After:

Do you see it??

Over on the left side of the picture-- the bookcase. This mirrored bookcase was given to my by my grandfather many years ago-- I'd say at least 12 years ago. It was unfinished, but ok that way, and I was never sure what color I wanted to paint it. It actually lived in my room at home in Vermont until May, when my family brought it out for me while visiting for my graduation.

Since I'm digging the contrast between the white things in my room and the grey walls, I decided to paint it white. I already had this paint-- so the project cost me $0. I used a color called "bone white." It's the paint I got for $5 from Ace in the winter, which I used to paint my cabinets in my old apartment

I unfortunately don't have any action shots of painting the bookcase, but it was really easy and straight forward. I taped off the mirrors so I didn't paint on them, and then got to painting. The bookcase is pine, and had some knots, so it took 3-ish coats to really cover well.

Before:                                                After:                                          
 

Sunday, September 12, 2010

Headboard Cost Breakdown

It occurred to me that I never detailed the cost of my headboard project. I want to share, so you all can see how inexpensive it is to make your own.


Fabric- 2 yards @3.50/yard =7.00
batting- twin sized, regularly 9.99, but used a 40% off coupon= 5.99
foam- 2 twin sized egg crate foam toppers @9.99 each= 19.98
Plywood- 4x8 ft sheet @15.46

total= 58.43

Already had- staple gun, staples, nailhead trim

Also, I have more than half of the plywood left over for other projects. I probably could even make a smaller headboard for someone else.

Not bad, considering similar headboards are at least $250 (even at Target). 

Thursday, September 9, 2010

Headboard!!

I've been talking about wanting to make a headboard for my bed for quite a long time. For some reason I was under the impression that it would be an expensive and difficult project to do, so I was putting it off.
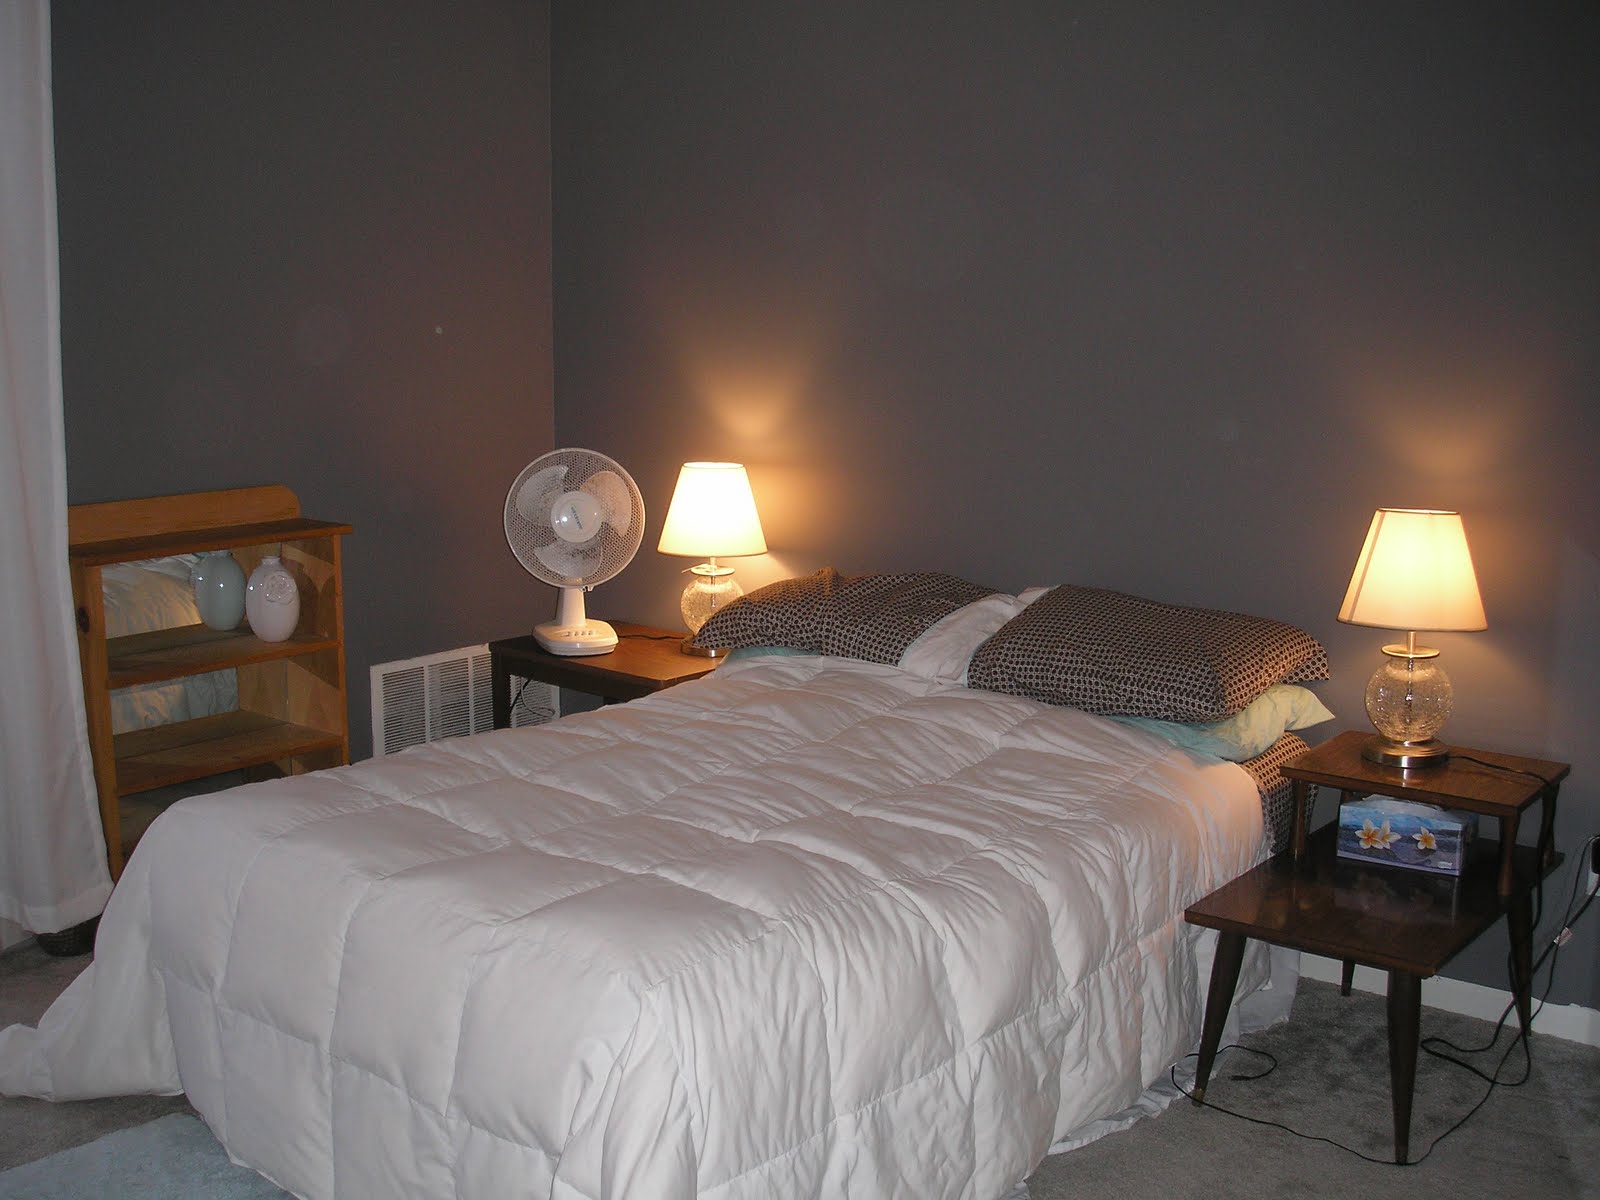
Well, with a new apartment, newly painted bedroom, and a 3 day weekend for Labor Day, I decided it was time. You might remember my bedroom as it was without the headboard:


I decided on the dimensions I wanted for the headboard-- 34 inches high and 54 inches wide (the standard width of a full sized bed). This is the size plywood I will need for the project. Knowing that most fabric is 45 inches wide, I knew that about 2 yards of fabric would be good, I already had nail head trim, so I just needed foam and some batting. 
So I headed to Joanns. I wanted to use a neutral, solid color so that the headboard would go with virtually any colors I had in my room. I really, really lucked out at Joanns- I found some tan suede-ish "home decor" fabric that was on the clearance rack. At Joanns, I also picked up batting intended for a twin-sized blanket, and then headed to Target to get some foam. Regular foam by the yard is extraordinarily expensive for some reason. I had seen some other projects where people used foam mattress pads instead, and I found that was a much more economical way to go. Finally, I got a sheet of 1/2 inch plywood at Lowe's. They cut a piece to the size that I wanted, and then cut the left overs so it would all fit in my car.

When I got home, it was all about stapling. I have a manual staple gun...which worked for this time, however my hands were quite sore when I was done. If I were to do this again, I would most certainly get an electric staple gun. Apparently I was so excited when doing this project that I forgot to take any "action" shots. But theres hardly any difficult steps here. I laid out the batting, put the foam on top, and then the board. I cut the foam to the size of the board, and then wrapped the extra batting around the back of the board, pulled tight, and stapled it on. Then I went through the same process with my freshly ironed fabric. Not too hard, since there is no pattern in my fabric. The most important thing is to pull the fabric tight enough.
The last step was to put on the nail head trim. It was harder than I imagined to keep those little buggers straight, but in the end, I'm very, very happy with the result!


I decided to go the route of hanging the headboard on the wall (it's really not much heavier than a large mirror) instead of trying to make feet for it. I just used two heavy duty picture hangers, one on each side.


Of course, once I had the headboard up I thought the wall above the light on each side of the bed looked really empty, and the bed was rather white/tan. So I went on a search for mirrors or some other decorative accent for the wall, and some throw pillows. Unfortunately, I didn't find any pillows that I was interested in buying, but I did find something for the wall.


These are actually picture frames, which I found at Pier 1. They came two together, with a spot for a 4x4 picture. Since I wanted mirrors originally, I decided I would just put a mirror in the spot for the picture. I got some mirror sheet at Joanns (instead of actual mirrors, because the mirrors were both not the correct size but also would have been too thick to fit into the frame) and cut it to the correct size. You would never be able to tell that it's not a "real" mirror, its awesome!


So I'm still on the lookout for some throw pillows. Or perhaps I will just make some??

Sunday, September 5, 2010

Frames: Before and After

As part of my gallery wall, I bought a frame and a mirror at the Salvation Army. The frame was for a picture that was previously in a silver frame, which didn't fit with my plan.
Here is the frame before, with the beautiful artwork that it came with:

And since I was so enjoying painting outside on the balcony, I forgot to take a true before picture of the mirror. So here's a "just after I started painting" picture:

The gold frame took several coats and sanding between coats to make it look the way I wanted. The mirror was much easier.

The gold frame is in the middle in the picture below. I put a picture of my dad and his wife, my sister and I from my dads wedding last summer.

And the mirror:


It's really hard to get a good picture of a mirror!
This just shows how easy it is to take cheap frames from thrift stores and make them into something you'd be proud to display!

Monday, August 23, 2010

Gallery Wall: Part 2

I decided to take a rather scientific approach to this wall, and did some research (because thats what I'm good at). In my last post I showed some inspiration pictures that I found during my research. 

The first thing I did was gather all of the items that could potentially go on the wall- pictures, mirrors, candle holders, etc. I had a few things that needed some changes- a frame I already owned that needed to be painted, a picture in a silver frame that I wanted to  reframe, and some empty space I needed to fill. 

I started by painting the frame I already owned with my black latex glossy paint. I actually found this frame in the alley behind my apartment in Chicago, two years ago. I really liked it although I had no idea what I would do with it. I contemplated many different things- adding some screening to make it an earring holder, adding a mirror, framing my diploma (it was too small...) and ultimately just hanging it empty. The picture below is the best picture I have, I think. You can see, I am preparing to paint on my balcony! Painting outside is really nice.
This frame really did not want to be painted. Even with sanding and cleaning it off, the first coat of paint wasn't sticking well. So, I re-sanded (lightly) and did another coat, and then repeated the process again. In retrospect, I probably would have done better to use some sort of primer, but it was already too late when I decided that was the case.
Once I had that frame painted, I started putting together the layout. First I needed to decide where to start on this monster wall- in the center, or on the side. Pardon the horrible cell phone picture, but it didn't occur to me to take a picture of this with my camera.

The horrible cell phone picture helped me decide that I should start on the side, so I laid out all of my items on the floor in the arrangement I wanted on the wall.  I won't lie- I left it like this on the floor for a couple days, stepping over it many times a day to decide if I liked it.
Once I was satisfied, I used blue painters tape to put the entire arrangement on the wall. Again, I left it for a while to make sure I liked it. 

Once I decided it was what I wanted, I actually started putting nails in the wall to hang things.

OK, OK, enough. Here's the final result:

More about the mirror and picture frame I added later.

Thursday, August 19, 2010

The Livingroom: Gallery Wall

A daunting task in the decorating of my new apartment is the walls in the living room. Two of the three walls are very large, and uninterrupted. They come to a point in the center, which is 10 feet tall, the other sides are the normal 8 feet.
One of the two monstrous walls
What to do with this? I feared that any of the wall decorations I currently own would be dwarfed by the wall and just look ridiculous. So I needed to think of something else. Looking at how I'd arranged my plate collection on the wall at my old apartment (and possibly my new?? stay tuned) I decided that I should do a gallery style wall. What is a gallery style wall? Well, a wall with a lot of pictures or other items hung in a seemingly random way. Here are some pictures I have collected of particularly awesome gallery walls. (All taken from Design*Sponge.
I love how they all have a connecting theme, but each has its own feel. One has all black frames with black and white photography and art, another is silhouette themed, and the last one pictured is all artwork created by the owner's friends. Given what I own already or could easily modify, I decided that I would use all of my photos framed in black, my newly framed master's diploma, and scatter in some other things-- a mirror, an empty frame, a floating shelf with a painting, and the two sconces I had in my living room at the other apartment. 

Want to see how I went about designing and implementing the wall? Well stay tuned for my next post where I will explain the rest of the process.

Tuesday, August 17, 2010

Bedroom

Moving into this new apartment was the first time in which I actually had access to the apartment before the day I was scheduled to move in. This meant I could paint without having to maneuver around furniture! I decided to take advantage of this opportunity and paint my bedroom. Just as a reminder, here is what my bedroom looked like when I took possession of the apartment:


After being inspired by posts I had recently seen on other blogs, I had my color! The post that really sealed the deal was from Courtney on Courtney Out Loud. Courtney painted a wall in his living room seal grey, by Glidden. He then stenciled the wall, which looks AMAZING. However, I'm not sure I have the patience nor the skill to pull that off! So for now I have just gone with the seal grey. I got it at Home Depot (That's who carries Glidden, at least in this area.)
Above: Franklin enjoys the new color on the walls
I am really happy with the color itself and the way it looks in the room- I just need to do a little touch up/detail work at this point. As you can see, Franklin is enjoying it.
The light is kind of funky in these pictures, obviously I took them a little later than I should have. They'll have to work for now but perhaps I'll take some better ones soon.


Another thing I did, that you can see in the pictures, is put up some white curtains over the sliding glass door. I think they really add to the luxurious feel of the room.
The pictures point out to me a few things that are needed: A HEADBOARD!!, a chair for the desk, some other stuff for the walls. I'm sure an idea for the walls will come to me eventually. I'm enjoying taking my time arranging and decorating. As you can see, for now I've just been leaning things against the wall where I think they might eventually go.
Also, any suggestions about what I should do with that mirrored bookcase? Paint it white? stain it? Leave it as is?

Thursday, August 12, 2010

Balcony Progress

I've lived in my new apartment for just over a week now. I have spent a significant amount of time setting things up (I'm all unpacked, just not all decorated) or thinking about how I would set things up, and also have done some shopping to get new stuff I needed!

I spent much of last weekend looking for a set of chairs and a table for the balcony. And I looked EVERYWHERE. Target, Walmart, Home Depots, Kmart, Ikea, another Target, Lowes, another Walmart, Big Lots...another Home Depot...we looked everywhere.
We ended up finding the perfect set at the second Home Depot! It's a black metal, cafe size and has two chairs. It was on sale, and I was able to use a coupon I had for 10% off from my "welcome to the neighborhood" package (because I changed my address with the post office.)
I finished off the table with some flowers, in a pot from Ikea, and two pillows I previously made and had on my couch.  I am very happy with the end result here, and have already spent some time with my computer sitting at the table. Once the humidity drops a little I am sure I will be spending lots of time out there reading, with my computer...eating...drinking coffee. Ahhh.
There are lights out on the balcony, but I would love to add a cool fixture of my own. I am still looking for a good outdoor light- perhaps a nice string of patio lights or even just some white "christmas" lights?

Just for completeness, I have some other pictures of the other side of the balcony to show you. Along with those mums for the table I got some bigger ones for each corner, and put them in similar white pots. I have also put the small little bench thing that I previously had in my living room outside, with a side table. The kitties really love sleeping on/under this bench, and it's another nice option for hanging out on the balcony.


And so you can see it all together- here is the best picture I could take of the whole balcony (ignore the cat brush in the middle there!).


I tried to get a picture of Franklin and Eleanor hanging out on the balcony, but of course, as soon as I appeared downstairs they were very excited.


So does the balcony look exactly as my mood board from a couple weeks ago? Not really. At least not yet. It's definitely a work in progress, and now that I have a really awesome table and chairs I can focus on the other seating (or wait until next year since its going to quickly get colder). I have at least created a very usable space by spending very little, and leaving lots of opportunity for more projects in the future!

Tuesday, August 3, 2010

New Apartment Tour

Well, I have officially moved. Moving was awwwweeessommme. Actually, I still have a few things at the other apartment--like a fan (don't need that anymore--new place has central air), an ironing board (ha!) and some other random stuff. Also I need to do a final cleaning and then I can turn in my keys and I'm officially moved!

I spent Saturday painting my bedroom and moving boxes myself with my car, and Sunday I had movers to move the big stuff and anything else that was ready to go. My couch is a little bit bigger than others, and it would NOT fit in the door way, no matter how the movers tried to angle it. In the end, we tied straps to the couch and hoisted it up over the balcony railing on the second floor. I only wish I had enough time to snap a picture of my 8 foot long 3 feet wide purple couch suspended up one story.

Anyway, I thought I would share photos of the rest of my new pad. You've already seen the balcony, but here is the front door. I think this area might need some work- at least some sweeping, a rug and maybe a plant. 

Immediately inside the door is a set of stairs. Its a narrow space, so it was hard to take a good picture of, but this is the best I could do.


Right at the top of the stairs and to the left is the main living area, with a HUGE closet on the right.


Seriously, that closet could fit a twin sized bed. If I organize it well, it can be my guest room! The living space is all open, which I love. And, it poses new decorating challenges. I have never decorated an open space like this. You can tell that they intend for the smaller area on the left side of the picture to be the dinning area (see the light fixture on the ceiling? How cute would a chandelier look there??). On one hand, that seems like it would be cute, but on the other, maybe its too easy? Maybe there is a better spot for the table?


Above is another shot of the living space. The hallway leads to the bathroom, bedroom and LAUNDRY ROOM!


First my bedroom- there is a sliding glass door that leads out to the balcony here. There is another in the living room, but I don't seem to have a picture of it. The bedroom is reasonable large, and has an excellent closet with lots of potential.


The bathroom and laundry room really aren't that pretty to look at (yet), but here they are:


And now back to the kitchen-- the kitchen has a lot more of several key things than my past apartments- DRAWERS, CABINETS, and COUNTER SPACE. It also features a dish washer and a garbage disposal! 


I have already painted my bedroom and am doing my best to get all the boxes emptied out. I will post about my bedroom in the coming days, by the end of the week at least. This has been a very tiring project so far, I've been far too tired to blog!