Thursday, December 15, 2011

Floors are Finished!

I've never been so happy to come home to plywood floors as I was on Monday. The new flooring process was started on Monday, with ripping up the carpet, working on the creaking (some of the plywood wasn't nailed down at all!), and leveling out the floor as much as possible.


Give it another 24 hours, and it looks like this!!:


Much improved from the lovely buttery yellow carpet I started with!

Next up-- baseboards!

Sunday, December 4, 2011

Painting Cabinets

When I moved into the condo, this is what the kitchen looked like- medium brown cabinets, faux butcher block counters, black appliances and yucky tan linoleum floors.


I decided that one of the first projects I would take up was painting the cabinets and adding knobs and drawer pulls. I'm not quite sure when I started it, because I've been working on so many things and kind of all at once...but this was an early project.

I wanted to paint the cabinets white, so I went to my favorite hardware store and bought some supplies. I could have gone the kit route, but I thought I could do just as good of a job myself. So I bought a gallon of oil based Kilz primer, and a gallon of Valspar's "Dove White" paint. It's nearly just the white straight off the shelf. I just wanted a white white. This has done the job.


In the mean time, I actually decided I would do the vanity in the bathroom first, as it is identical to the kitchen cabinets but smaller and that way if something went terribly wrong I wouldn't have wasted much time. I washed down the cabinets and set out priming. The can of Kilz said that you could re-coat after an hour, I think, but I let it dry for about 24 hours, until the next morning. 

I then did coats of the white paint. I did a coat, and gave it several hours to dry, then did another. Once I was satisfied with the coverage I let it dry for about 24 hours, and then added knobs to the cabinet doors.

The kitchen was a much bigger project, taking many more days and hours. At any given point, my kitchen look like this...

...or this...


Starting to see some progress...


And how it looks tonight, all finished!


Before:
 
After!

you are talking too much 

HookingupwithHoH


Friday, December 2, 2011

Black Friday Purchases

Black Friday was a great day for my condo-- I purchased laminate flooring for the living room, dinning room, kitchen and hallway, AND a new washer and dryer.
I posted a teaser picture earlier this week of the flooring samples I was considering.
Before I got the samples home, I thought that I would put laminate flooring in the living and dinning rooms, and hallway, and then put a vinyl in the kitchen, 
but once I laid them on the floor to compare, I decided there was no reason to not put the laminate in the kitchen. I think the color will look great with the cabinets (unsure about the counters, but those might go anway)


Unfortunately for me, the store didn't have enough of the product I picked in stock, so they had to order it, and what do you know but this flooring is back ordered. Luckily this seems to be a pretty nimble industry, as my scheduled delivery date is next Friday. (When I heard back ordered on the phone, I thought weeks/months, not 7 more days!)
So my new floors should be in and all pretty in about 2 weeks!

In addition, I also bought myself a new washing machine and dryer!
My current washer and dryer came with the condo and are older than I am. The washer is a paltry 1.75 cubic feet (standard now is more like 3.4-3.5) and the dryer is extremely inefficient.

I had to be cognizant of my budget, and thus decided to go with the Admiral brand washer and dryer from Home Depot. On black Friday they were $249 each, so I got the set for just over $500 including hoses/cords and tax.

I am super excited to not have to tiny loads--twice as many as usual--and to not have to run my dryer twice to get a load of clothes dry!

Allison

December Punch List

Here is my room by room punch list. It's still growing. 

Throughout whole house:
  • Replace lightswitches and outlets with new, white ones <- Done about 4 of them!
  • Replace lightswitch covers and outlet covers
  • Have GCI outlets installed in bathroom, kitchen<- scheduled for Dec. 22

Kitchen
  • Paint Cabinets (in progress)
  • replace counter tops?
  • replace floor<- purchased! Waiting to get installed
  • Decide on color and paint walls
  • paint trim
  • Install under-cabinet lights
  • Replace Fridge, Dishwasher, Range
Living Room
  • Paint Walls "Wild Aster"
  • Paint Trim
  • Replace carpet with laminate!?? <- Purchased! Waiting to get installed!
  • Hang Curtains
  • Get new Couch
  • Hang Art, mirrors <- Still some work to do here
  • Hang curtains
  • Hang blinds?
Bedroom
  • Decide on color and paint walls
  • Paint trim
  • Paint Closet
  • Redo Closet system
  • Hnng Curtains
  • Hang art, mirrors
Bathroom
  • Remove shower doors
  • Hang shower curtain
  • paint vanity
  • paint trim
  • Replace or Frame mirror
  • Remove Wallpaper
  • Decide on color and Paint walls
  • Clean grout or regrout?
  • Replace Faucet AND sink!
Second Bedroom
  • Decide on color and paint walls
  • Paint trim
  • Redo closet?
Basement
  • Paint paneling white <-!! Details coming!
  • fix water damaged walls (probably a contractor will do this)
  • replace carpet
  • Finish basement bathroom (what a nutty set up!)
  • organize and set up sewing area
  • replace washer and dryer?  <- Ordered! Delivery Dec. 6th!

Monday, November 28, 2011

Coming soon...

Sunday, November 27, 2011

Bathroom Sink and Faucet

One thing I didn't touch in my recent bathroom overhaul was the sink and faucet. I tackled that this weekend!

Above is my sink before. The faucet is one of those lovelies with plastic round knobs. It also is a bright shiny silver (or it was when it was new) and I wanted a satin nickel faucet that would match the knobs on the vanity.

This really is a saga. I first purchased an American Standard faucet at Home Depot, which Mike wasn't a huge fan of from the start, but we decided to try it. It was relatively easy to pull off the old faucet and set the new one in place, but then came the tough part--putting in the new drain.
The silver part of the drain that rests in the sink is supposed to twist off "easily" according to instructions and videos we watched online, but in this case, the pipes were so corroded that that wasn't possible. After many rounds of trying to unscrew it, we ended up using a hack saw to cut the pipe. We finally got the drain out! We're almost done! so we thought.

We installed the new drain, gave each other high fives, and then turned on the faucet to see how it worked. And oh, it leaked. We tried tightening everything that could be, applied some more teflon tape, etc, but to no avail. 
It looked pretty at least?

Lastly, we noticed that the hole in the sink that the drain went in was so corroded that there was no way we could get a tight seal--in other words, it was always going to leak. The sink had to be replaced.

The dirty details


 So then I had this:


Early Sunday morning we made a trip to the Habitat for Humanity Restore to see if they had a suitable replacement sink, and we were in luck! Not only did they have several that were the right size (in many colors! Mike vetoed the pink one), they were all in great shape.

After the ReStore we headed back to Home Depot (I always say its not a project unless it involves at least 2 trips to a hardware store) to exchange the leaky faucet. I ended up getting a Moen facet that is rather similar to the previous faucet. 

The new sink has no corrosion! And its poreclain, not cast iron, so it shouldn't rust quickly. We easily put her in place, and now my bathroom looks GREAT! Next up...replacing the light fixture?


Before:

After:


Linking to: 


Thursday, November 17, 2011

Bathroom Bathroom

The bathroom has to be one of my favorite rooms in my condo. Let me explain. It [was] wallpapered, and the previous were very serious about their wallpaper. The light switch plate was wallpapered to match, as was the SCALE.

See, I'm not joking. Unfortunately they did not leave the scale for me (I took this picture during a walk through)

Here's a view of most of the bathroom and I inherited it- the same cabinets as the kitchen, the ugly brown counter, the wild west salon doors on the window...

The shower doors...


I think my third day in the condo involved ripping out those shower doors. It was easy, really. It was held to the wall with 3 screws on each wall and some glue. Once I removed the screws, the doors came off really easily, and then I just had to pry off the tracks.  Then I just had to remove the icky leftovers.


I started using "professional strength goof off", which worked OK, but then I pulled out the big guns- 

Motsenbocker's Lift Off- Caulk-Silicone Foam Sealant Remover. This stuff worked like a charm.You put some on the offending ook, let it sit for a minute and then scrape it off using your favorite scraping tool. Shortly the bathtub edge was clean.

The next thing I did was pull down all the wall paper, and luckily for me it came down really easily. I also got wild and pulled down the mirror that went across the whole wall!


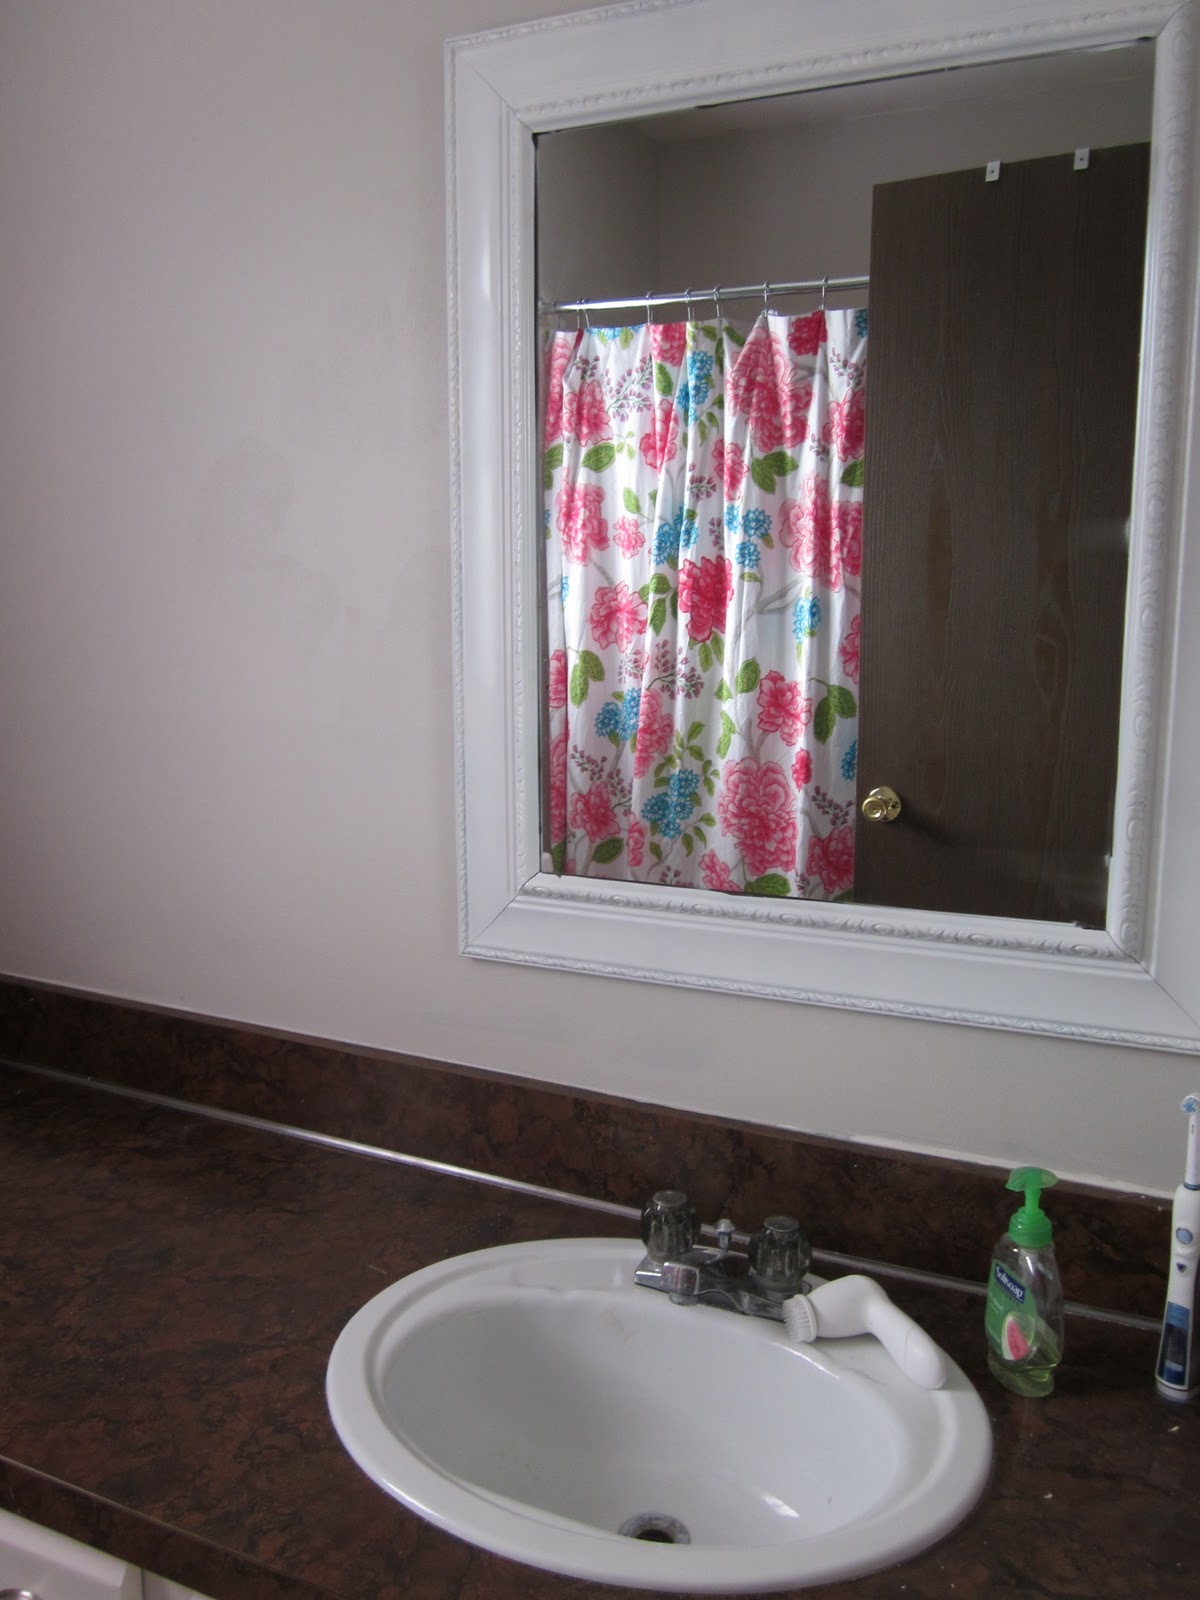
 I thought it would look much better with a smaller mirror centered over the sink, like this one (borrowed from my living room)


I painted the walls with the same paint that I used in my previous apartment- Martha Stewart from Home Depot "precious metals" collection "Bone" paint color matched in semigloss latex. I really still love the color, and I love that it looks slightly different in this room.
I then actually got another mirror almost identical to the test one, at Walmart for just under $30. It wasn't the color I wanted, but that didn't stop me as I knew a little spray paint could fix that.

See the shower curtain!


Below you can see I removed the "wild west salon doors" in favor of a mini blind. Much more my style!
Next up- what to do with this empty space on the wall? Some sort of storage I think, but I can't decide if I'd like open shelves or a cabinet.


Linking to:
 you are talking too much
Photobucket